1 Introduction
The intent of this technical note is to lay out a suggestion for how code development can be done using the JupyterLab environment deployed at e.g. JupyterLab demo. Broadly speaking, this development workflow will likely not be significantly different from a working on a dedicated machine. The main difference is that users have a built in notebook server that can be used in conjunction with the command line and standard python interpreter.
Some benefits to using the JupyterLab environment for development are:
- The stack is maintained as part of the environment. The current implementation gives access to the three most recent dailies, the two most recent weeklies, and the last major release.
- The environment feels very familiar because of the access to a true shell and the use of notebooks as the primary means of interaction with code.
- Since JupyterLab is, by nature, distributed, it makes a lot of sense to co-locate this full featured environment with large data stores that can be used for testing.
- Because authentication is delegated to GitHub, no further authentication is necessary to push code changes.
- Though the environment is not shareable, the proximity to share file stores makes shareing code, notebooks and data easy.
2 Accessing the JupyterLab environment
The current LSST JupyterLab deployment uses GitHub authentication. This means that if you are in the correct organization, you will be granted access. For the two main deployments the authorized orgainizations are:
- https://jupyterlabdemo.lsst.codes – lsst-dm
- https://sysengdemo.lsst.codes – lsst-com
To gain access, ask an owner of the appropriate organization to add you to that organization.
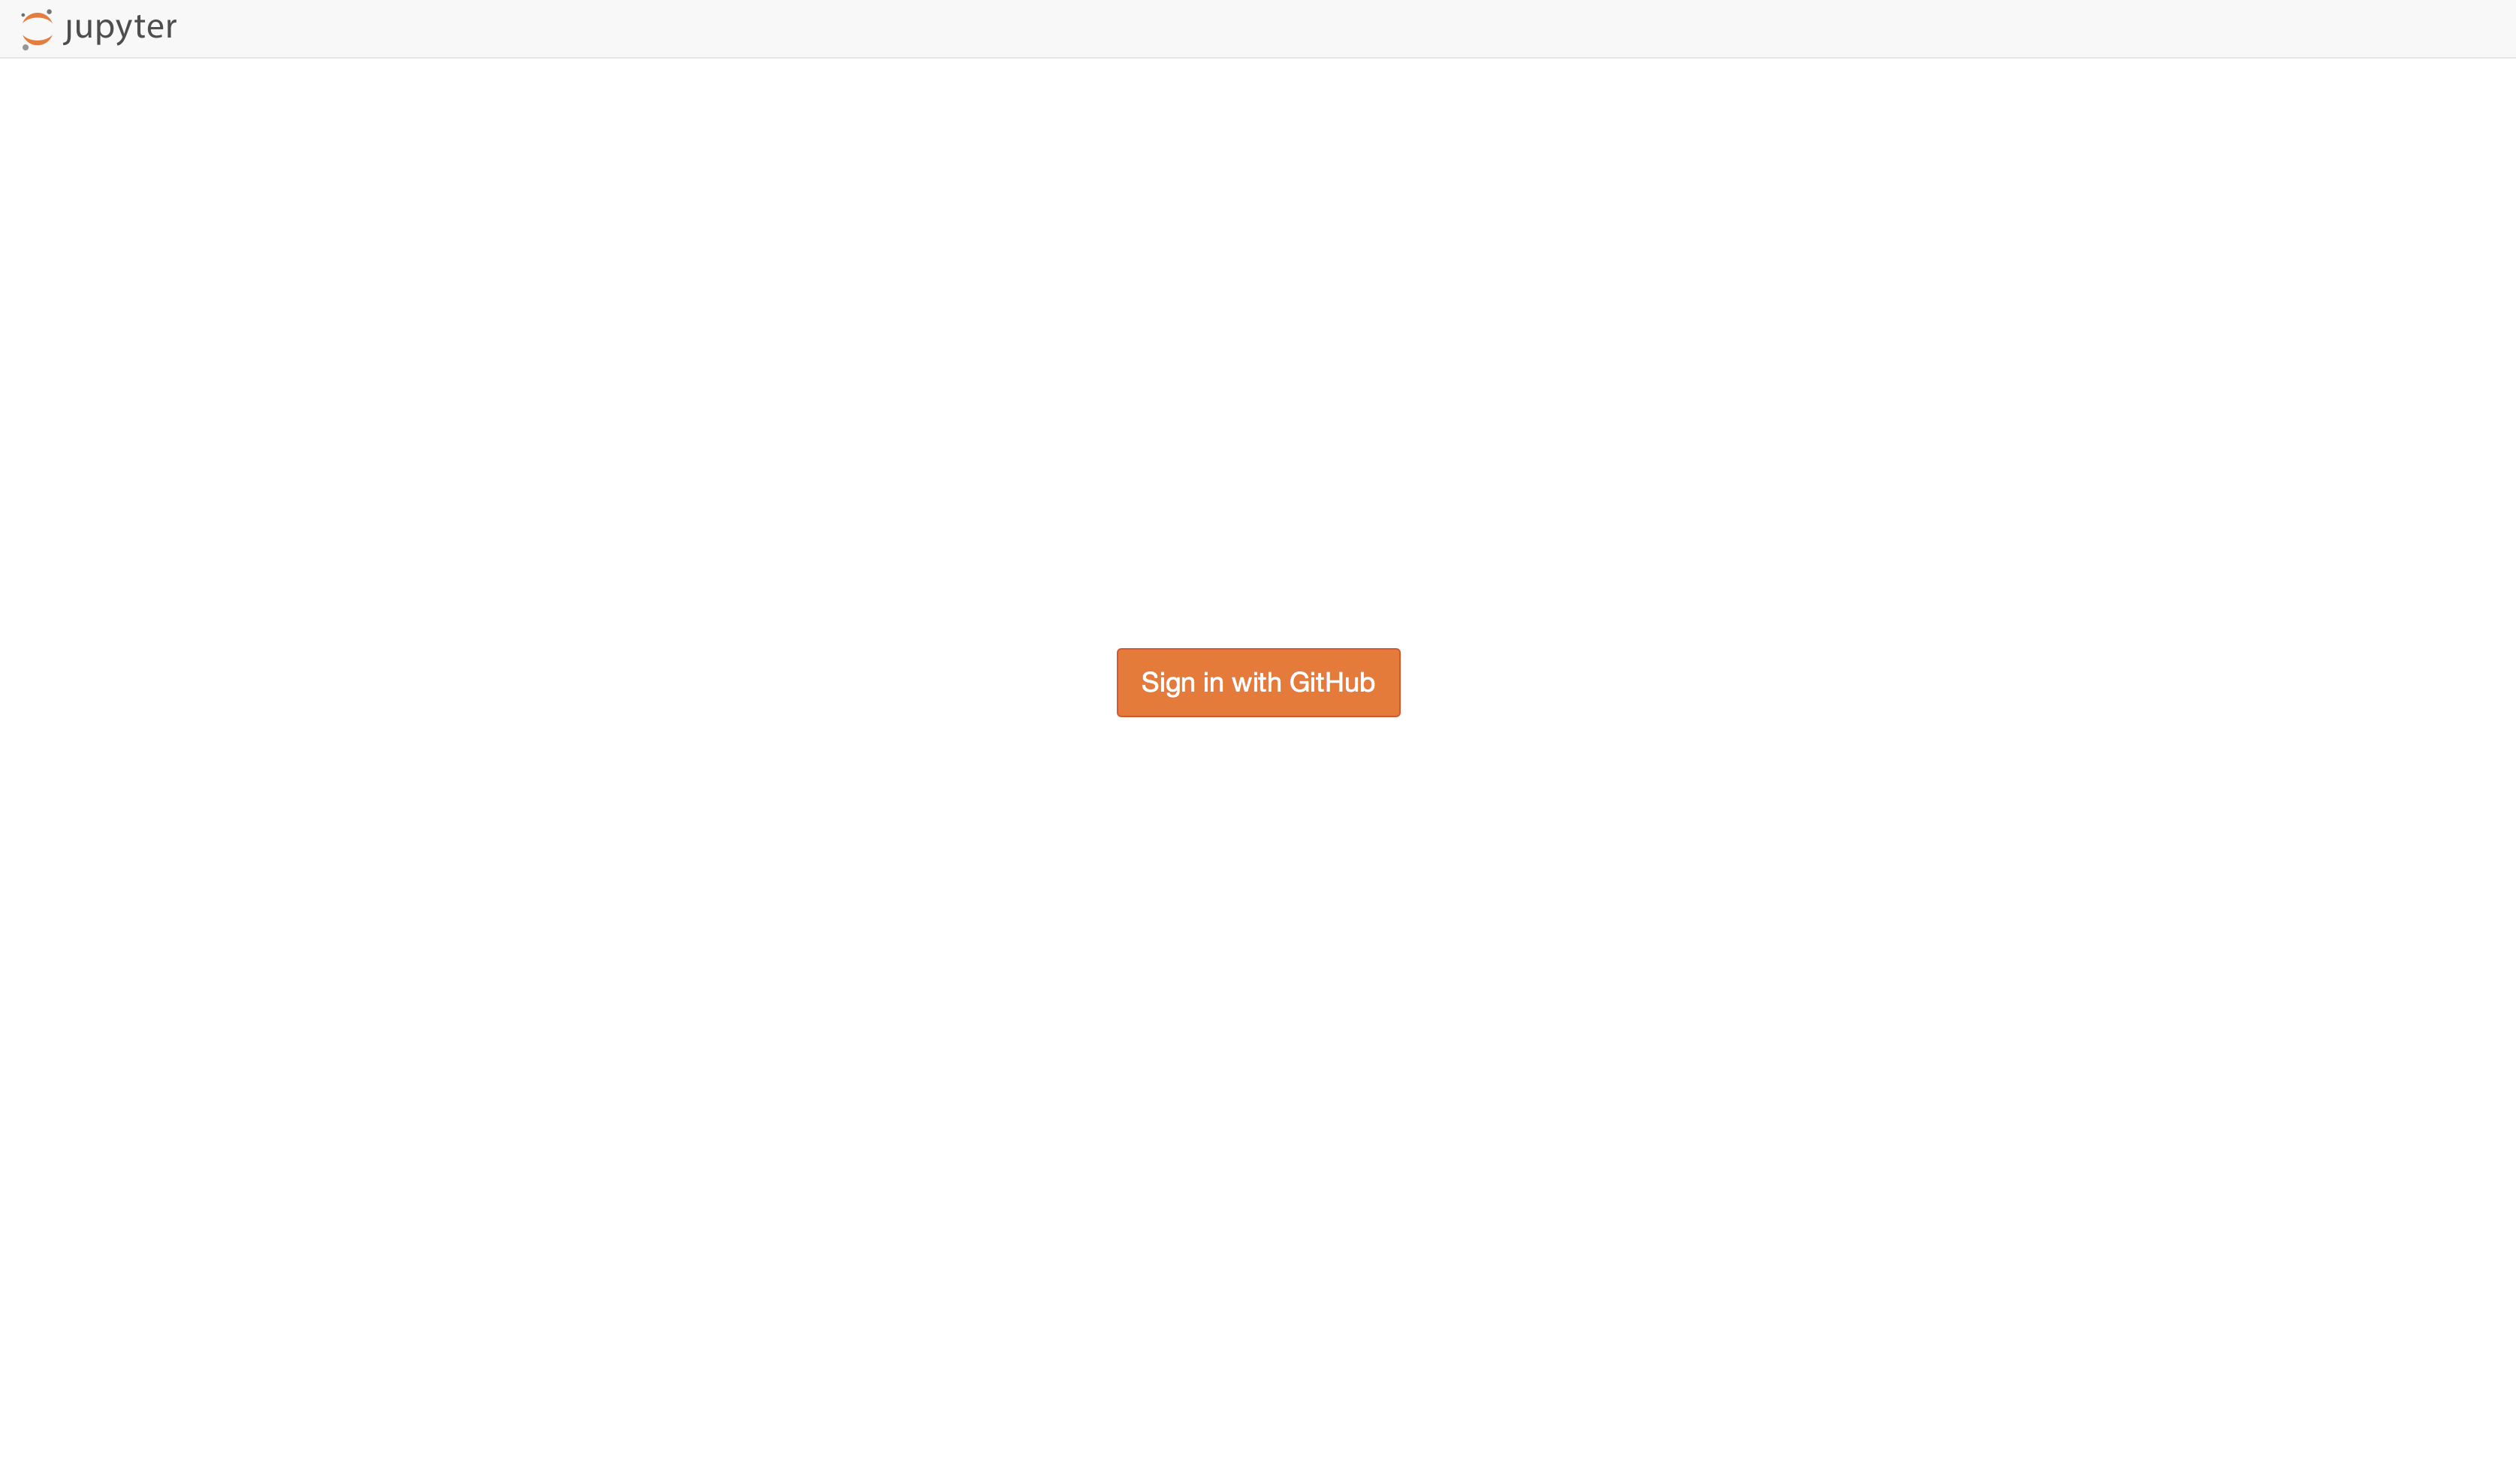
Figure 1 Click to log in.
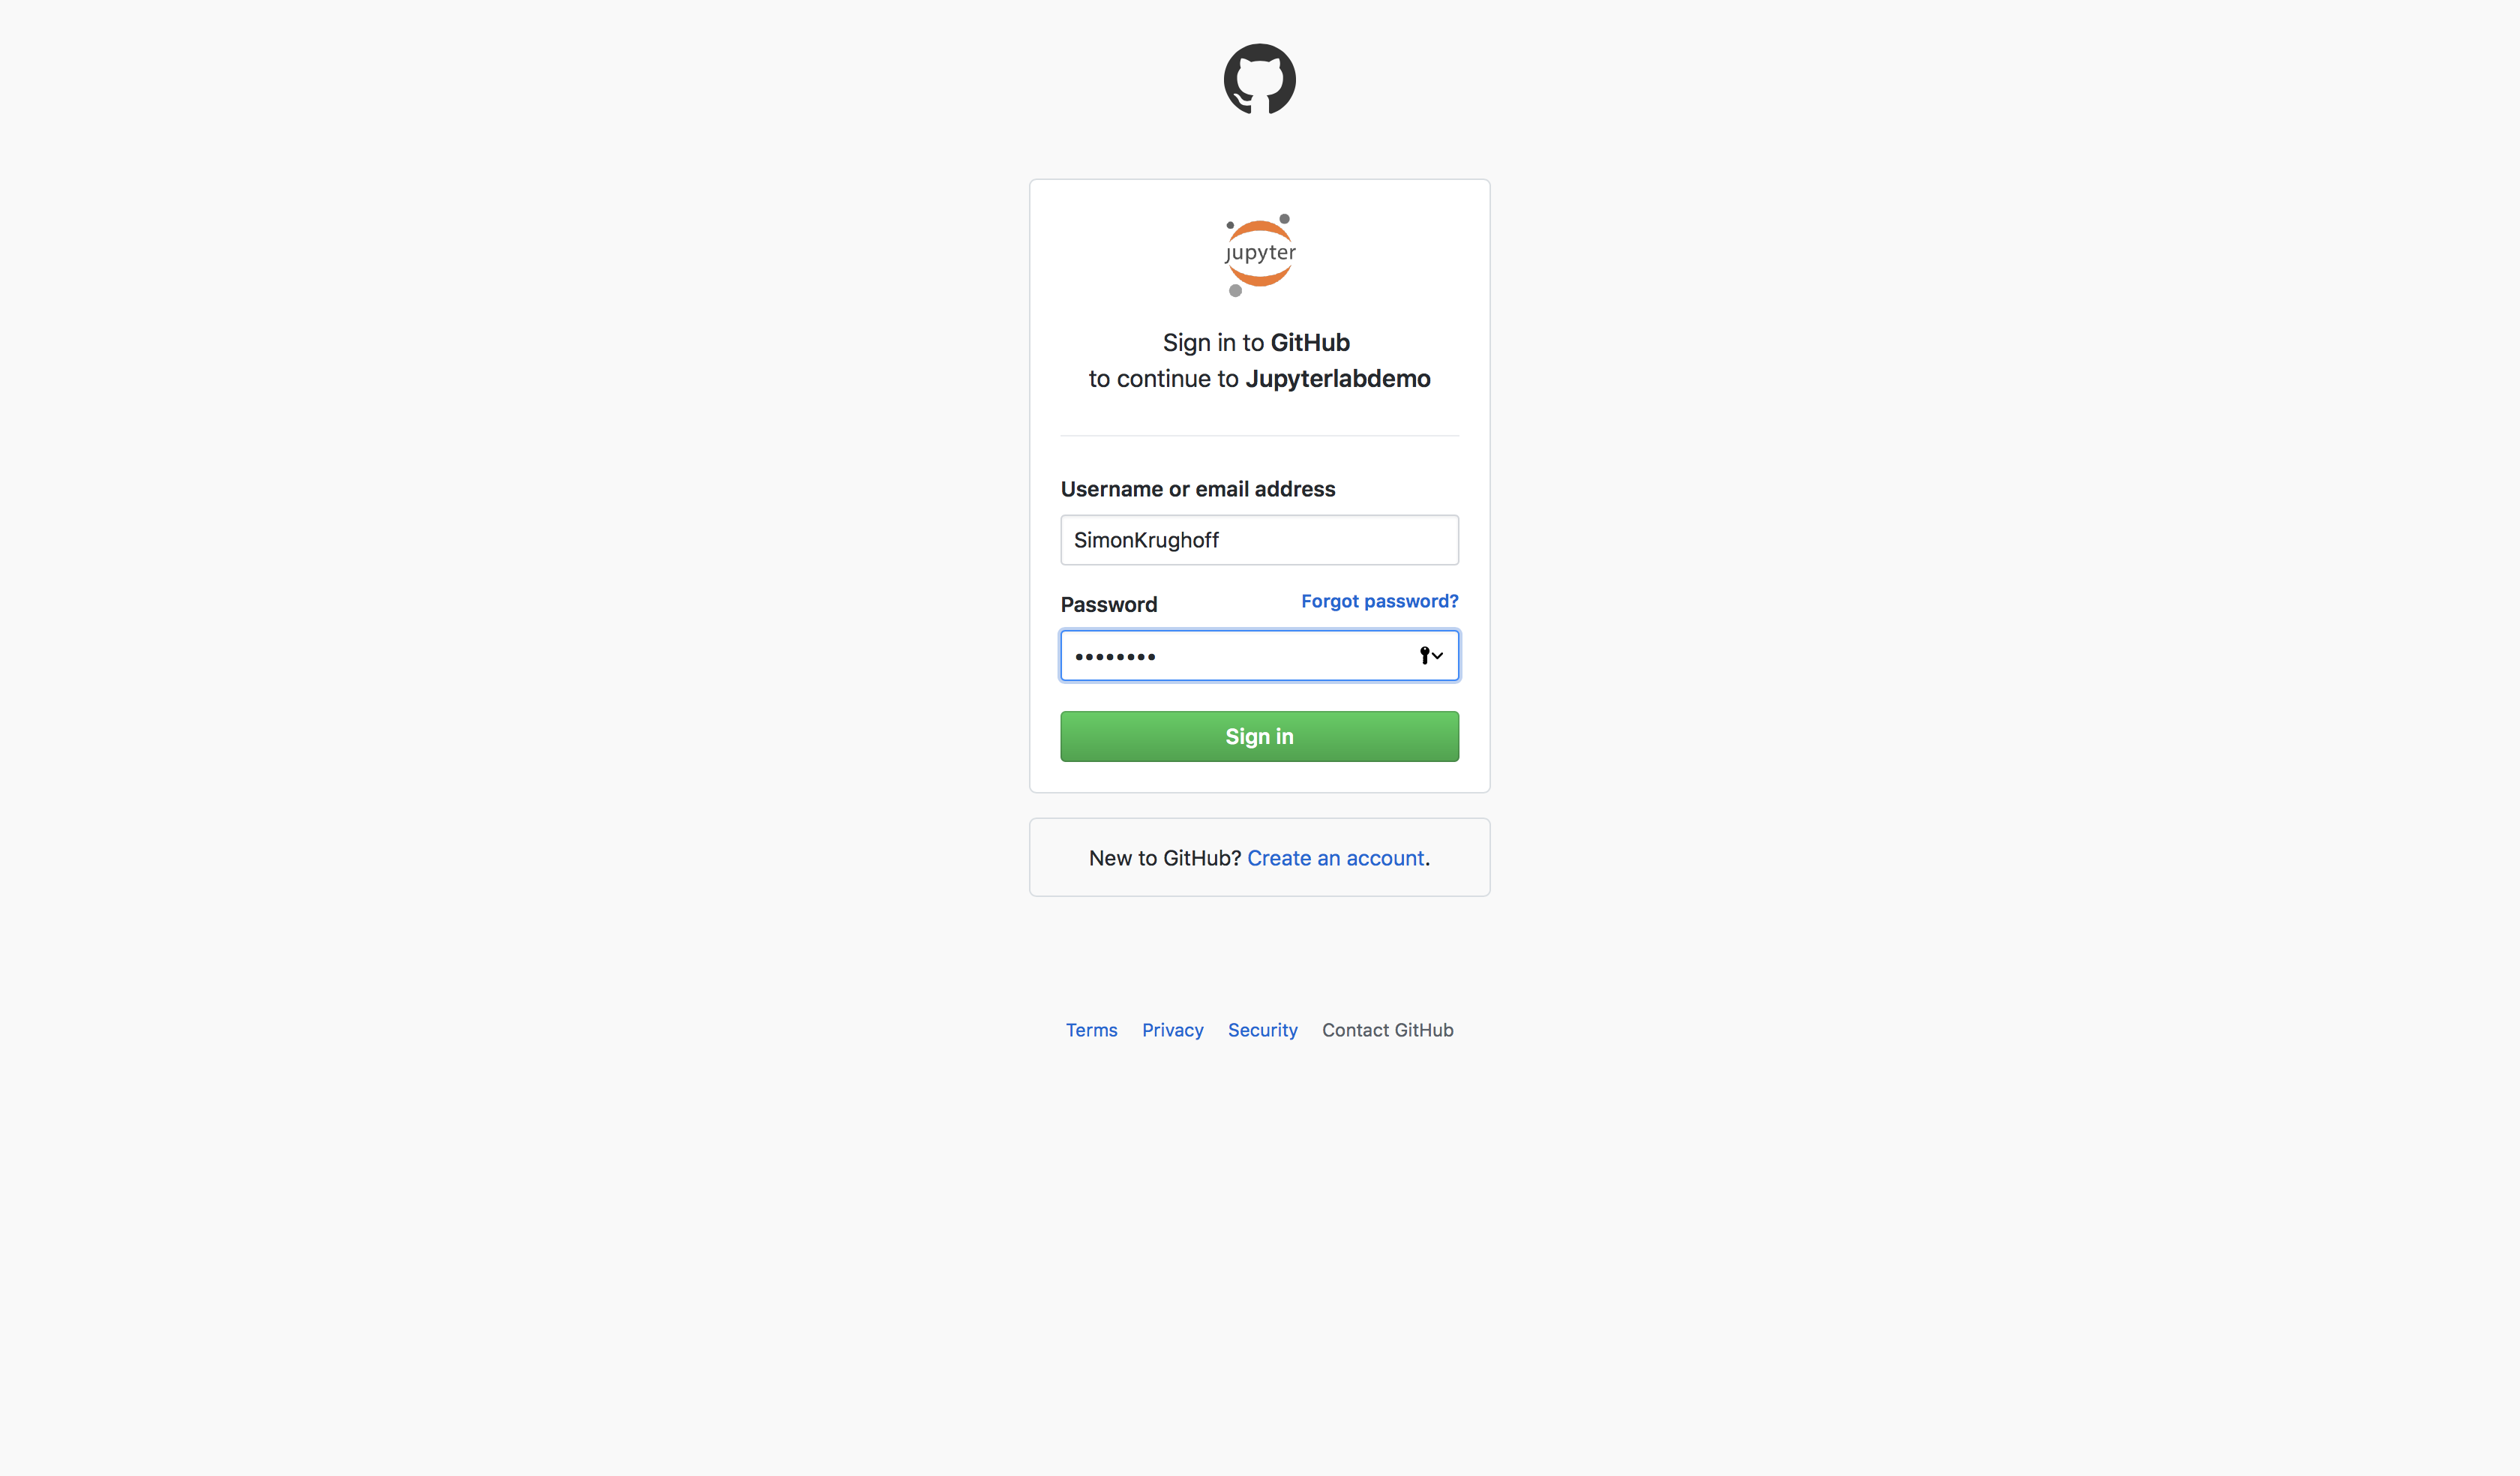
Figure 2 Enter your GitHub credentials.
You may be asked to give GitHub some permissions. If you have concerns about the permissions it is asking for, do not accept.
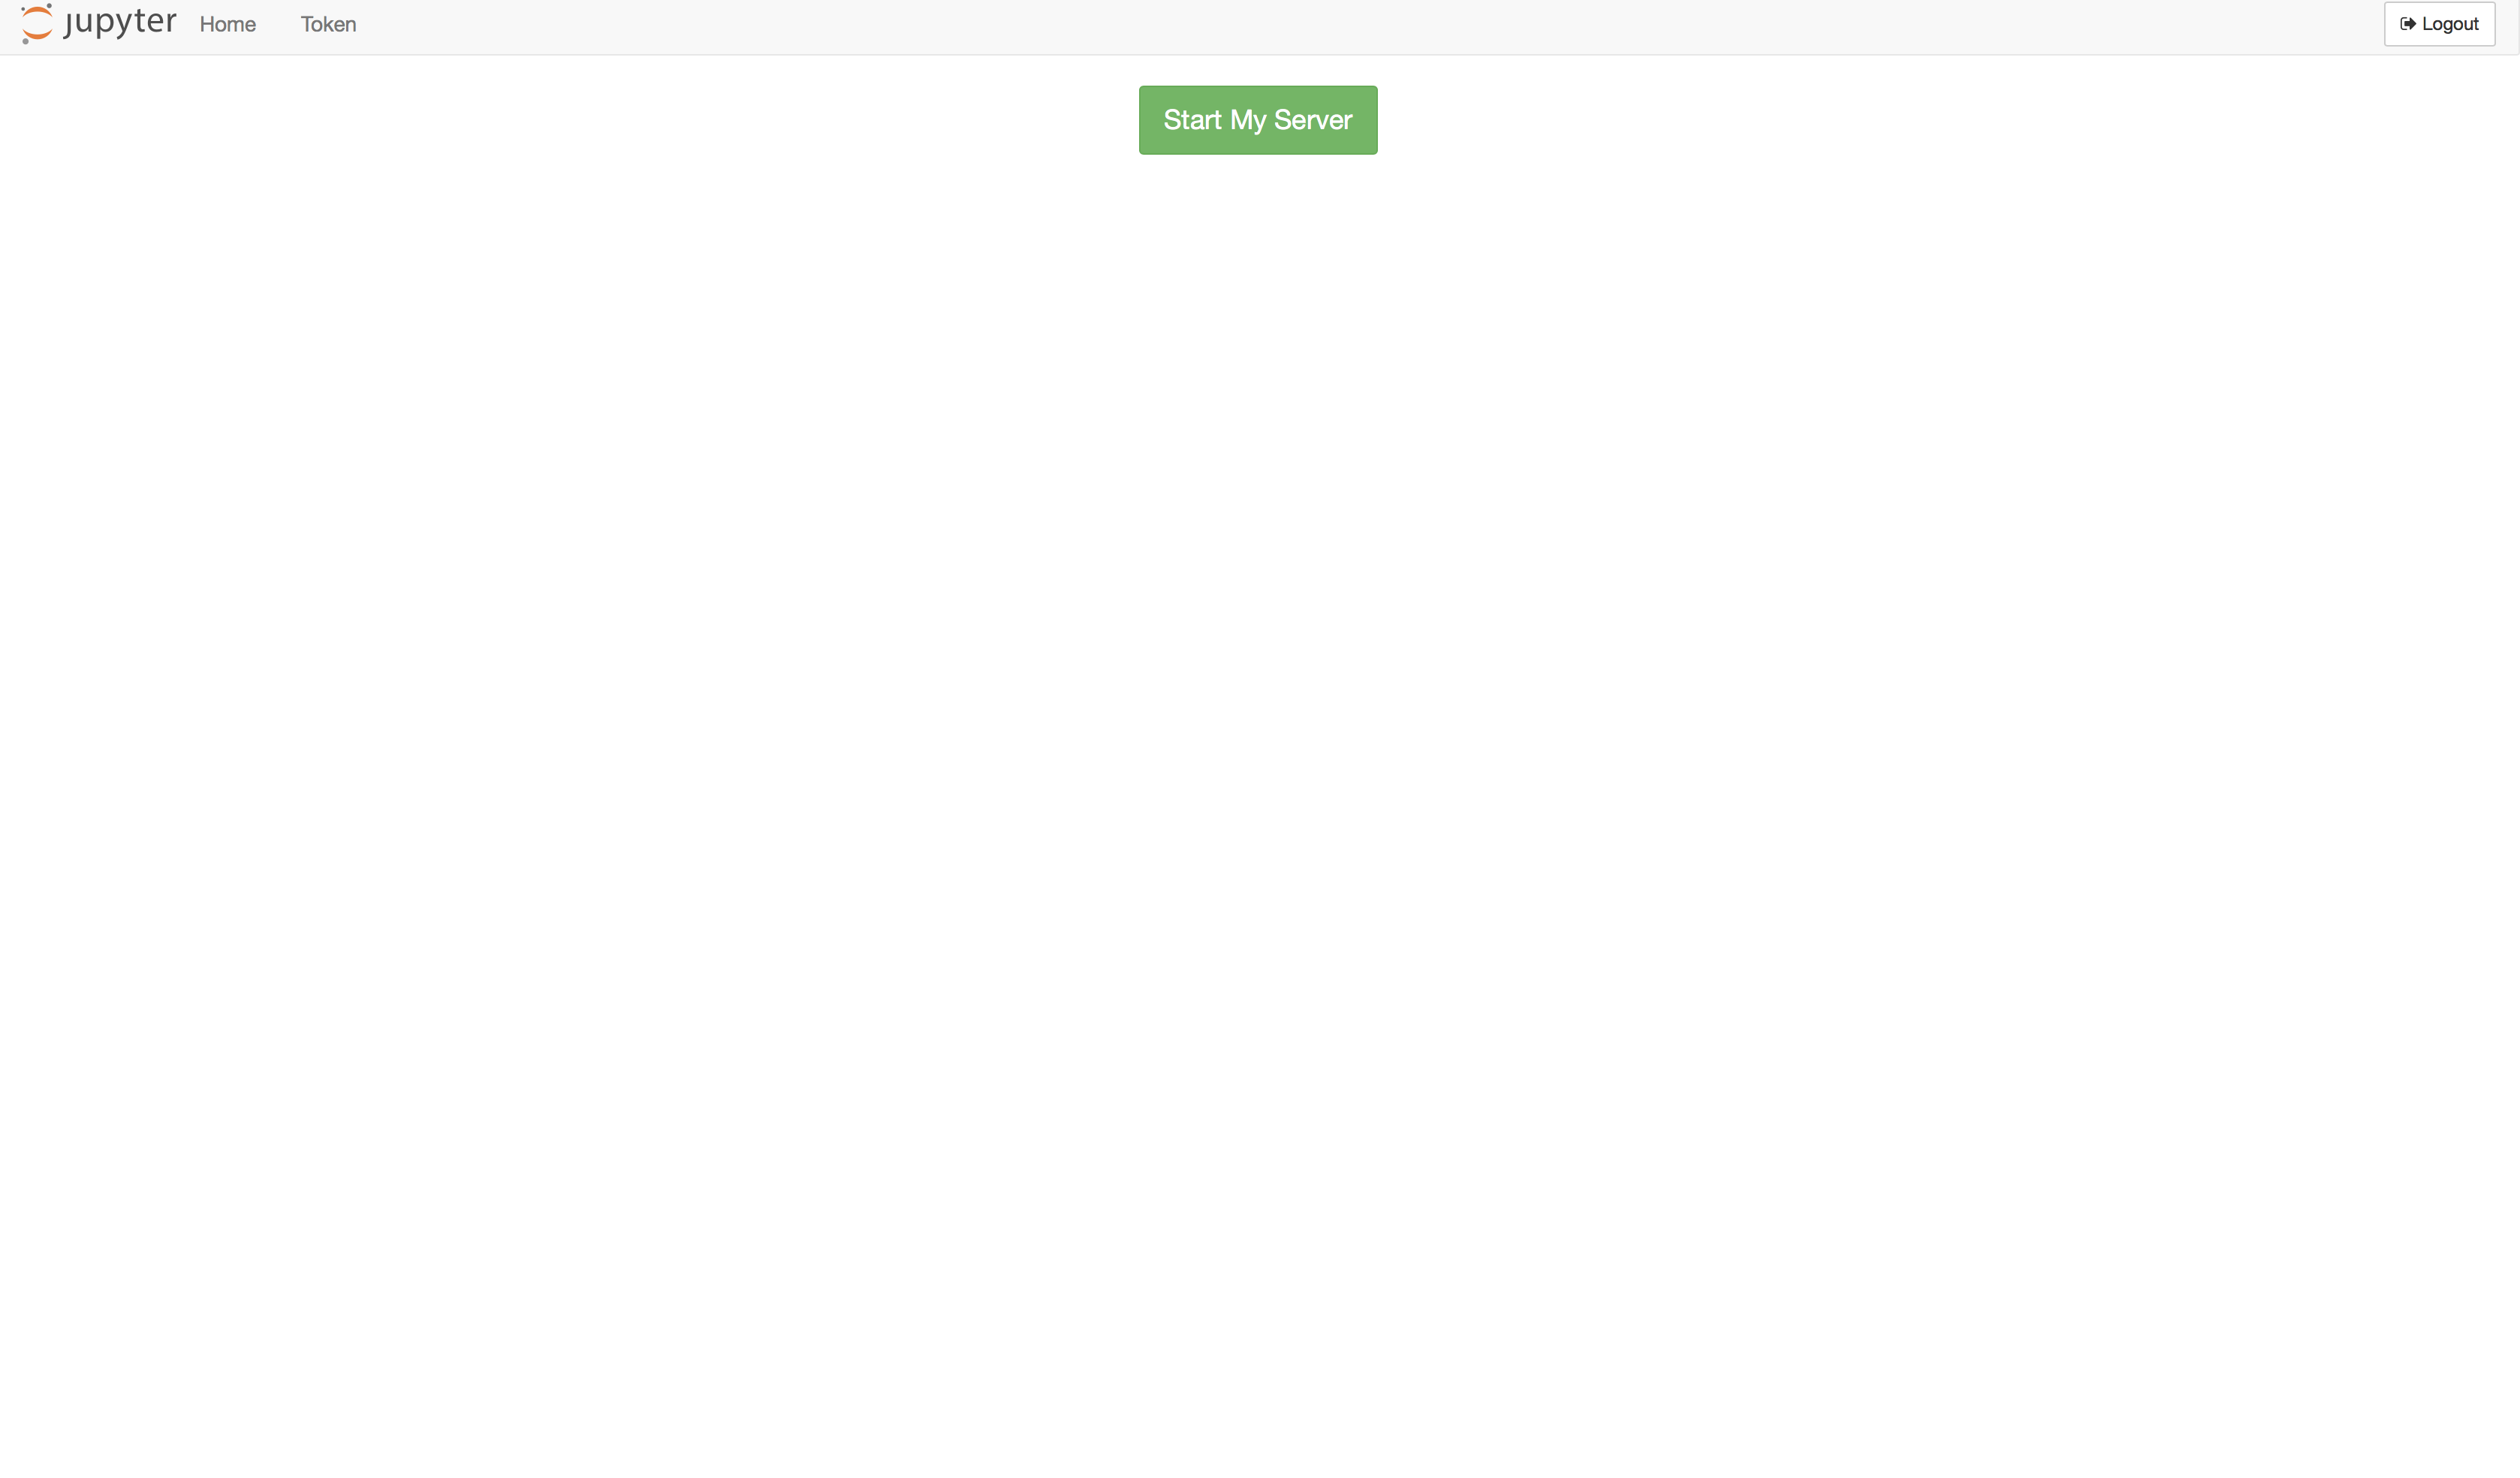
Figure 3 Click to start your server on the kubernetes cluster.
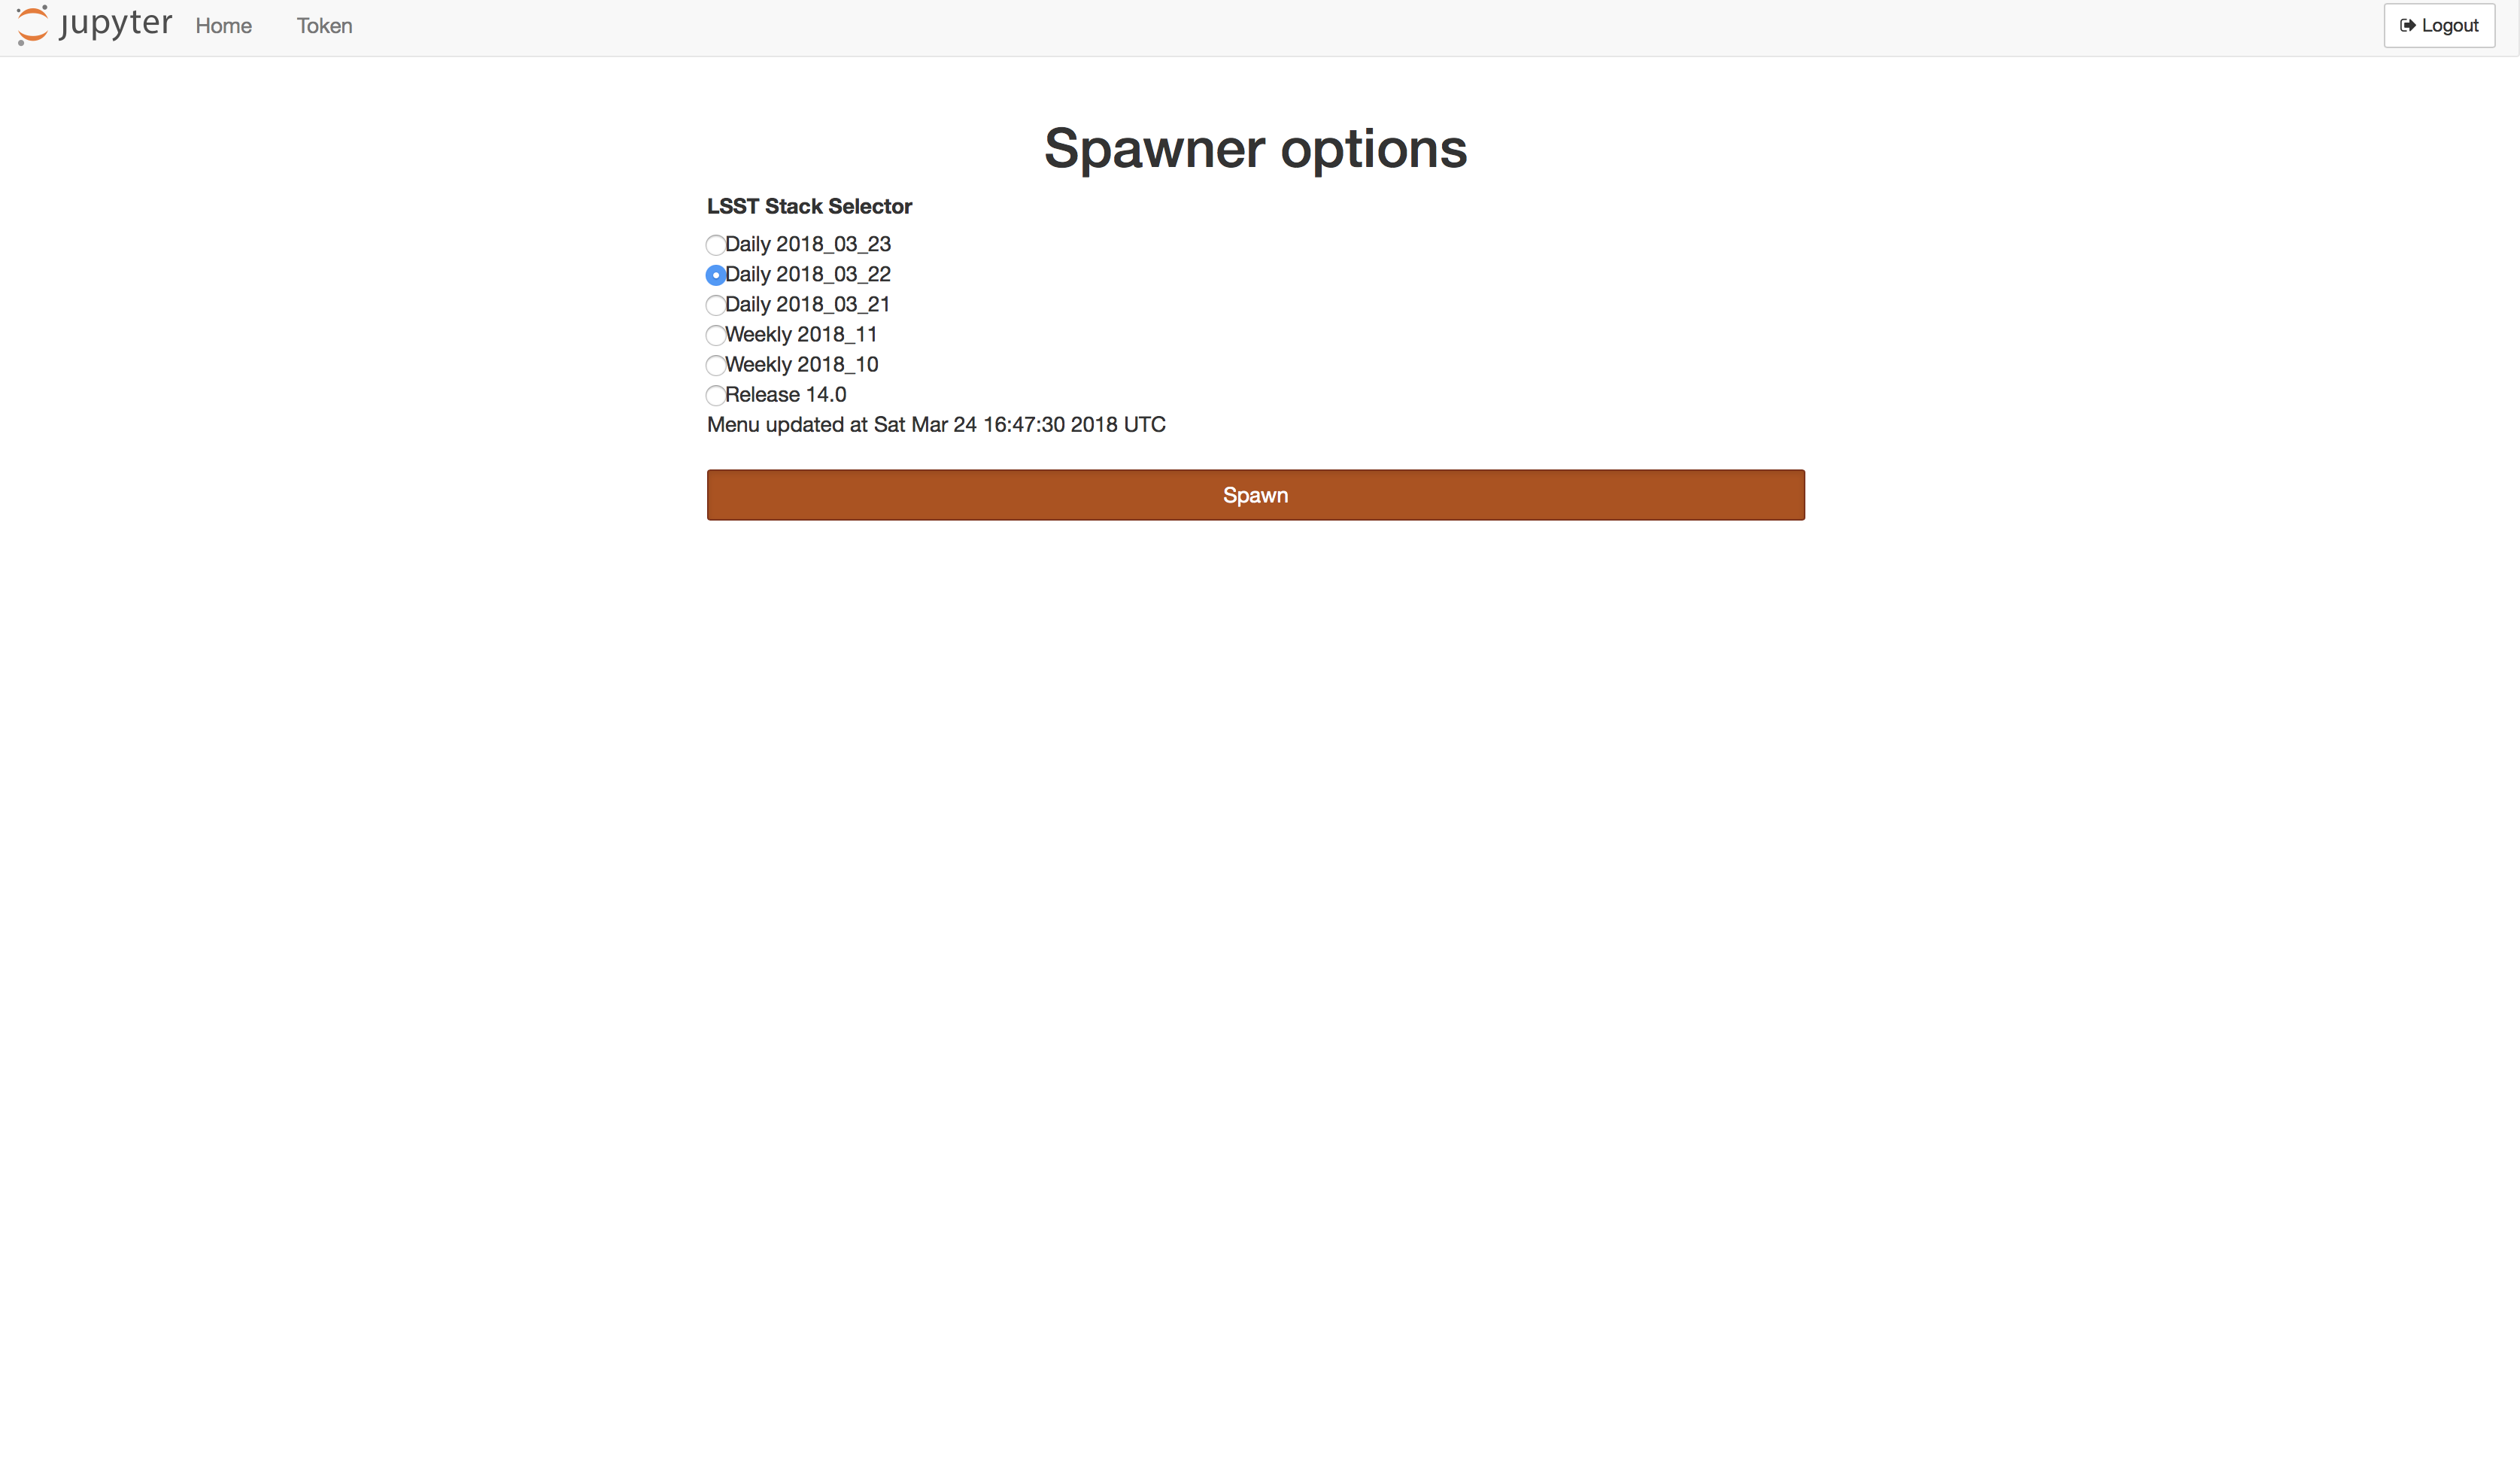
Figure 4 Choose your version of the stack.
As mentioned in the introduction, the current configuration exposes the three most recent dailies, the two most recent weeklies and the most recent major version. Click the radio button next to the version you would like in your JupyterLab environment. And Click spawn. Depending on if the node you land on has had a chance to pre-pull the image for the version you specify, this could take a few minutes.
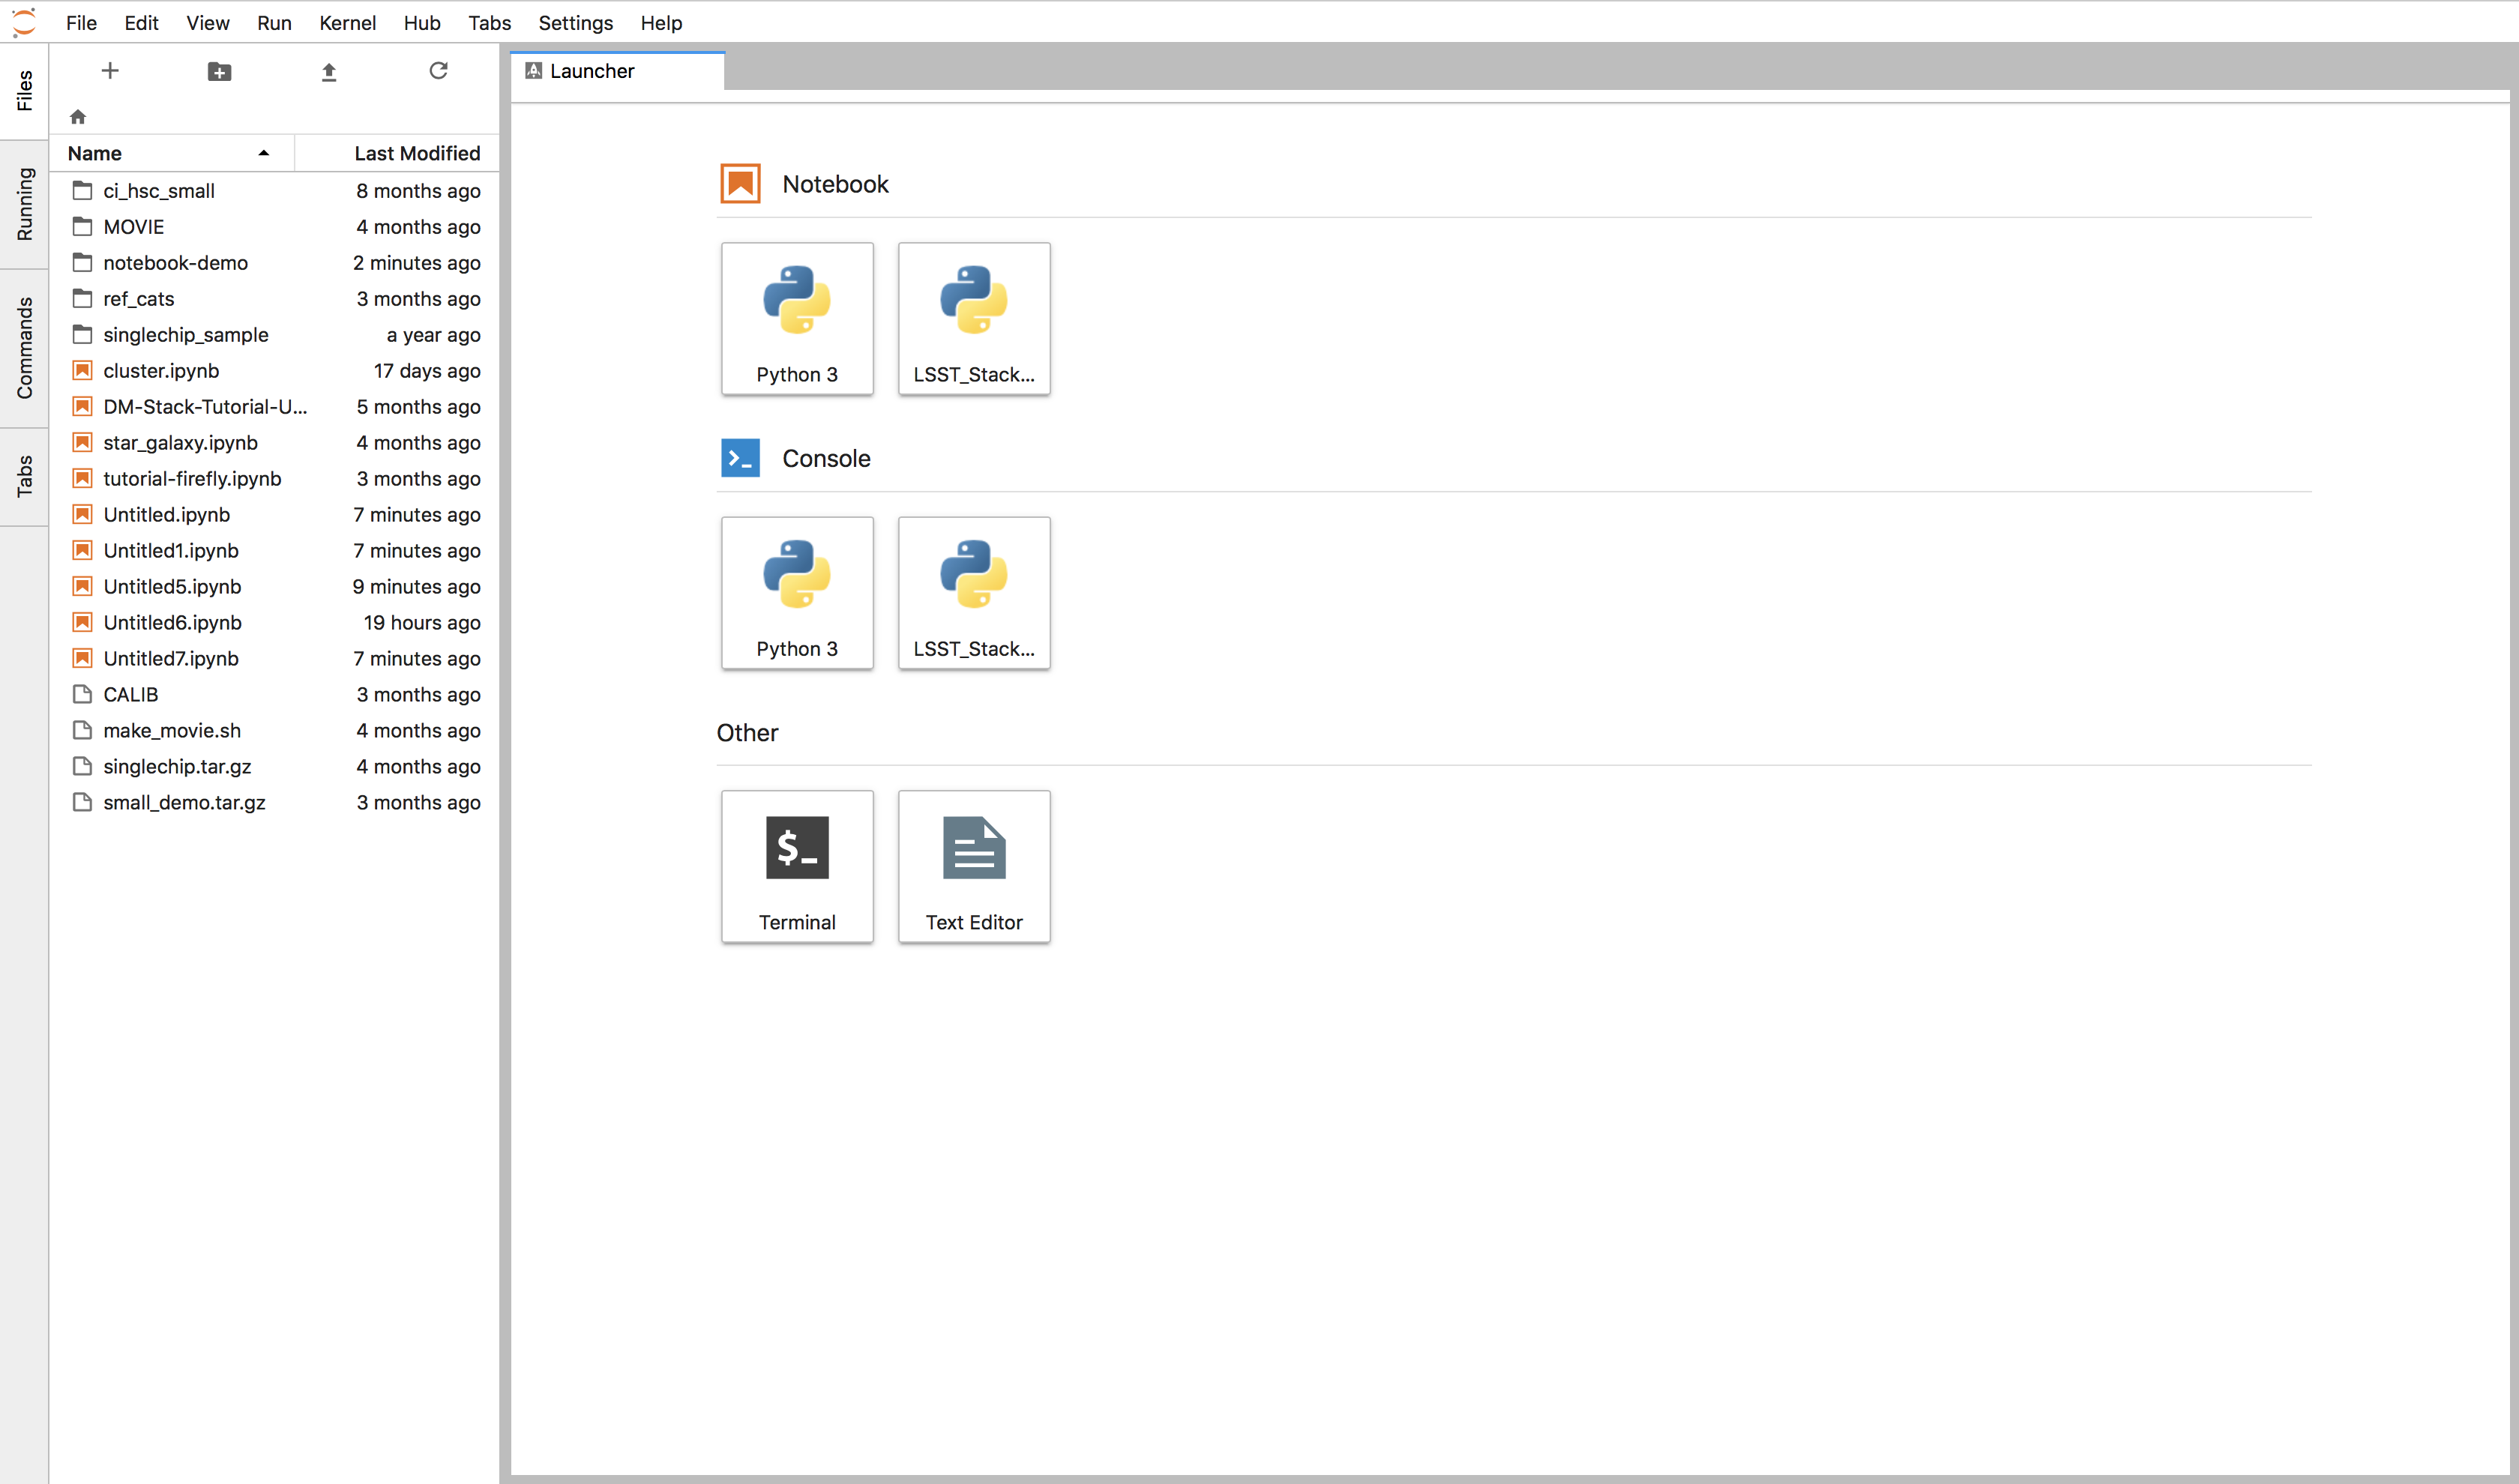
Figure 5 Landing page for the JupyterLab environment
This is a screenshot of an environment that has been used a fair amount. Yours will not have as many files. The launcher window, however, should look about the same.
3 Setting up a development repository
At this point you can open a notebook with the stack enabled by clicking the notebook launcher called “LSST_Stack”.
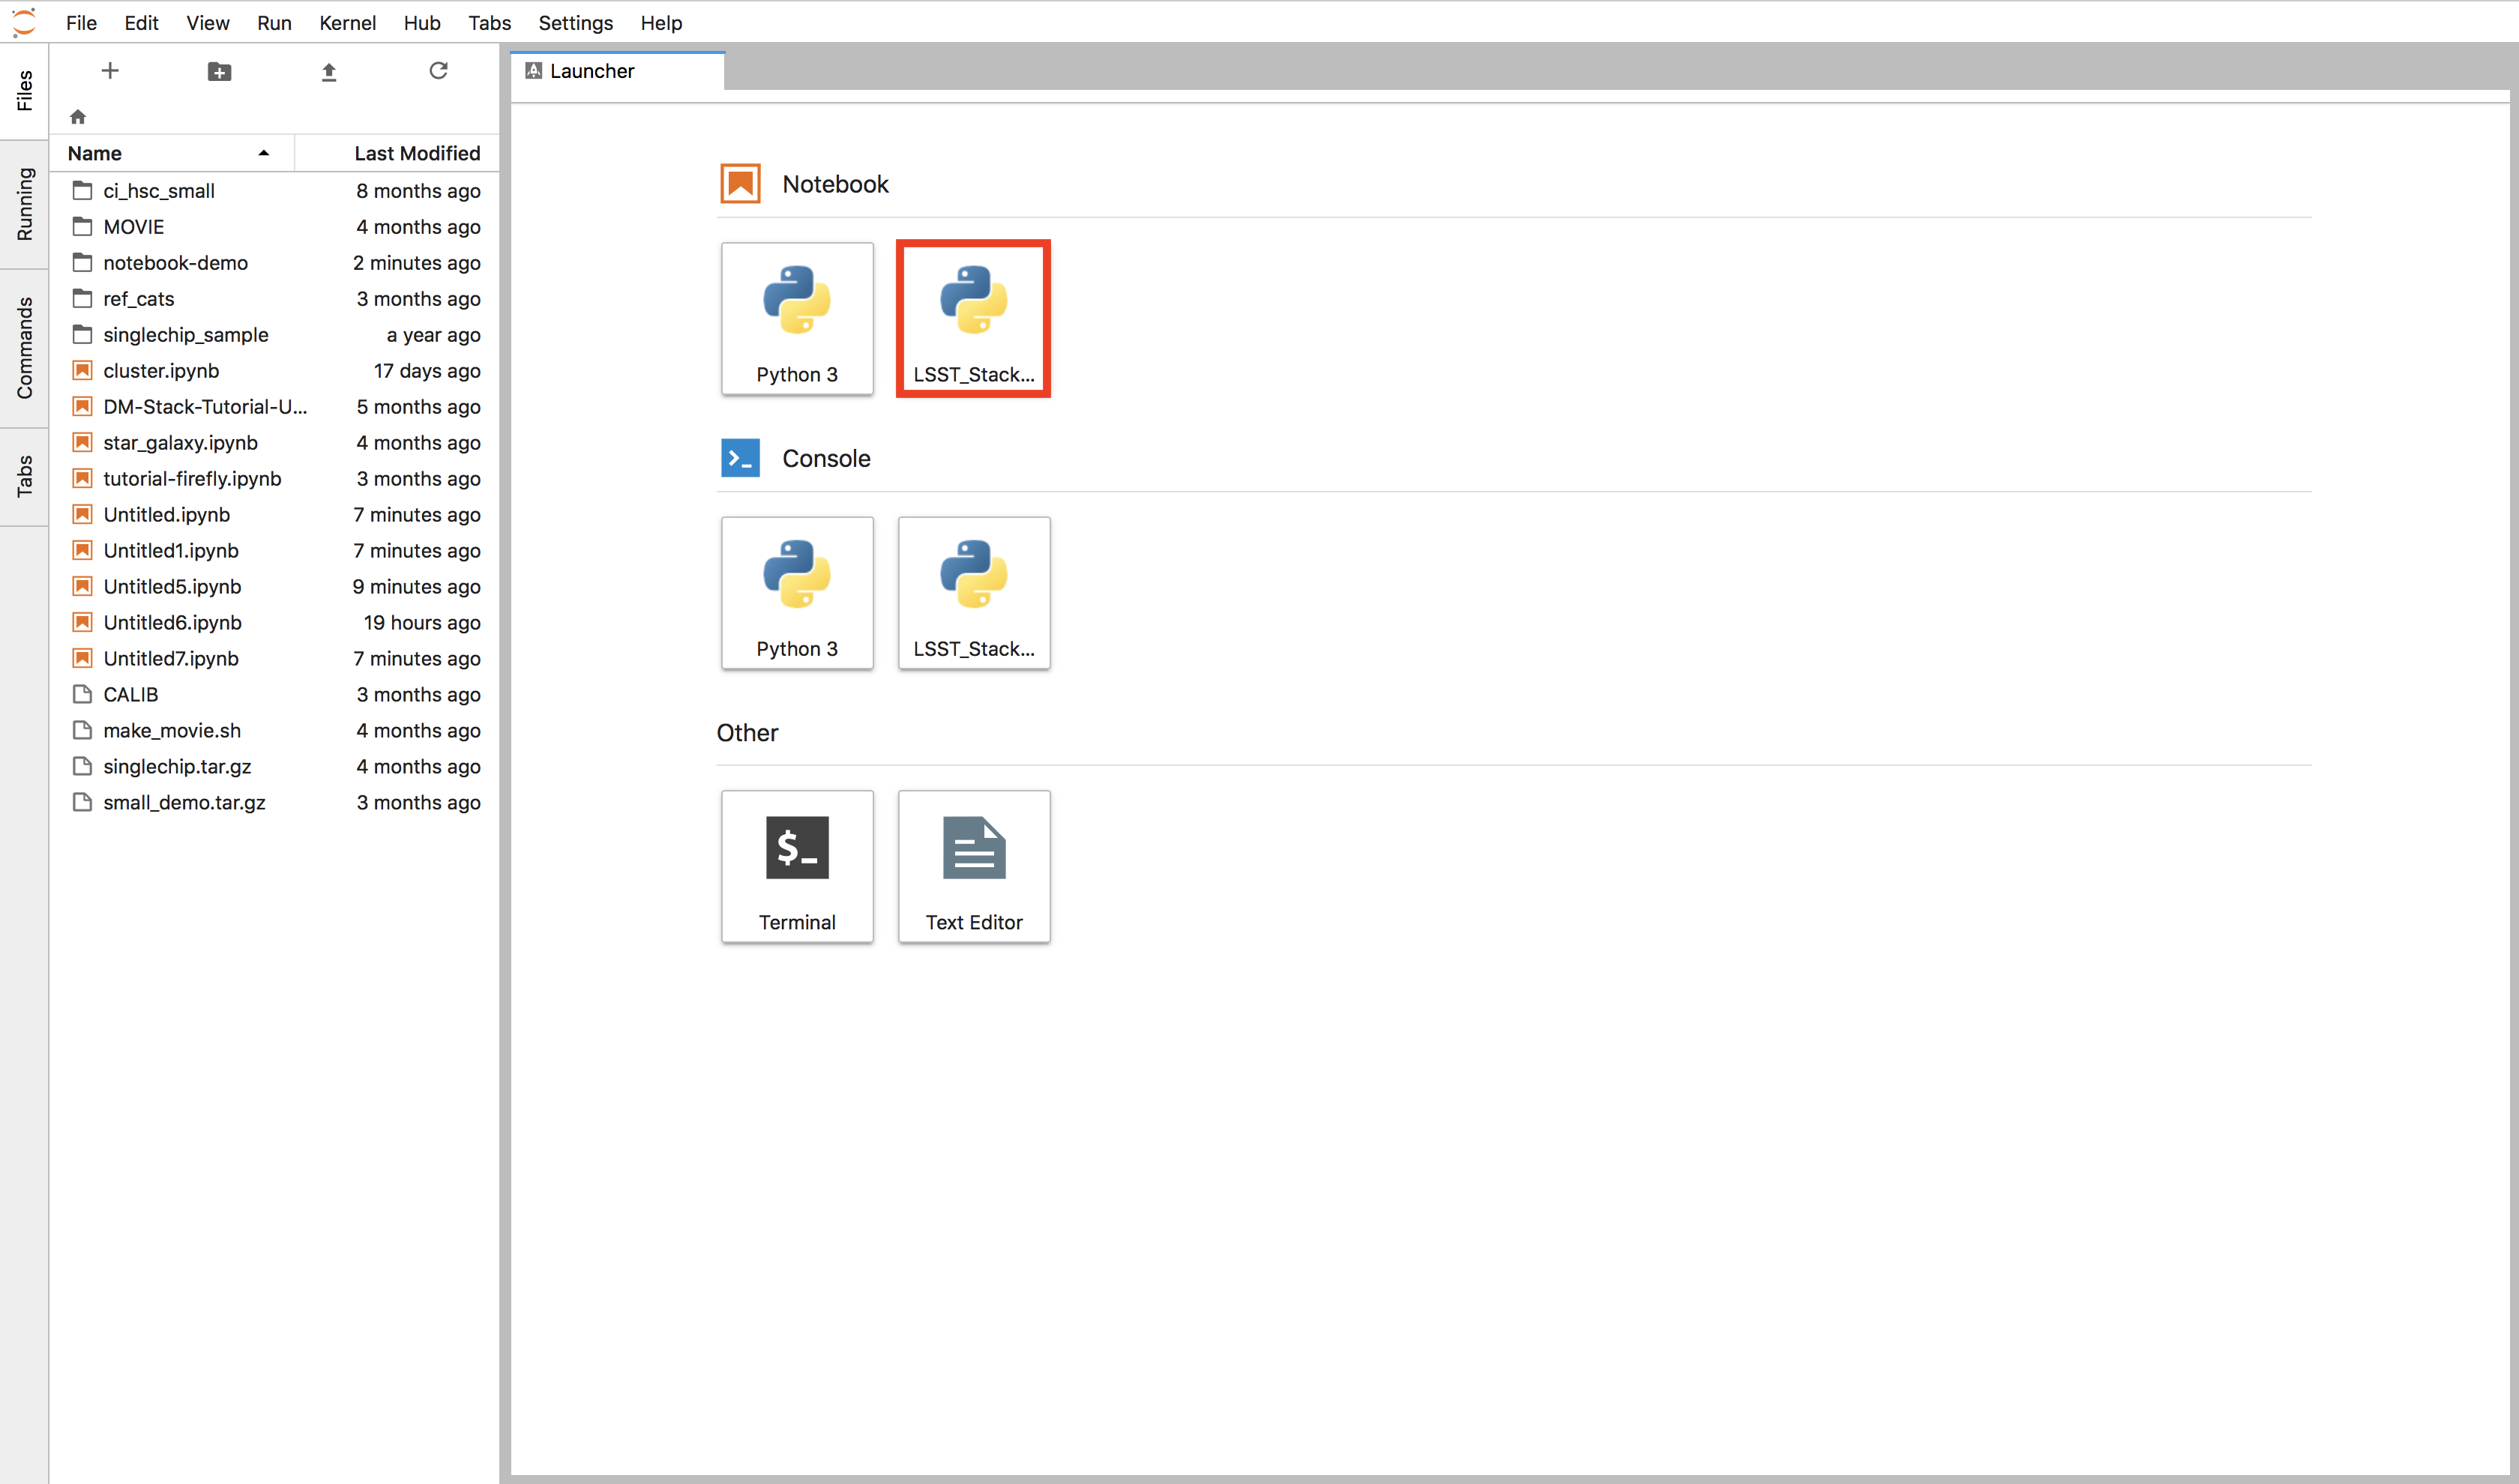
Figure 6 Notebook launcher button in red
To show that you have access to the lsst stack, you can try importing an LSST module. We will be using pipe_base later in the note, so try importing lsst.pipe.base.
import lsst.pipe.base
Now let’s get a repository to work on. The commissioning team have put up a fork of a repository we can use without fear of contaminating a stack package. We will need a shell to do clone our stack package.
First open the launcher by clicking the plus in at the top of the Files pane on the left side.
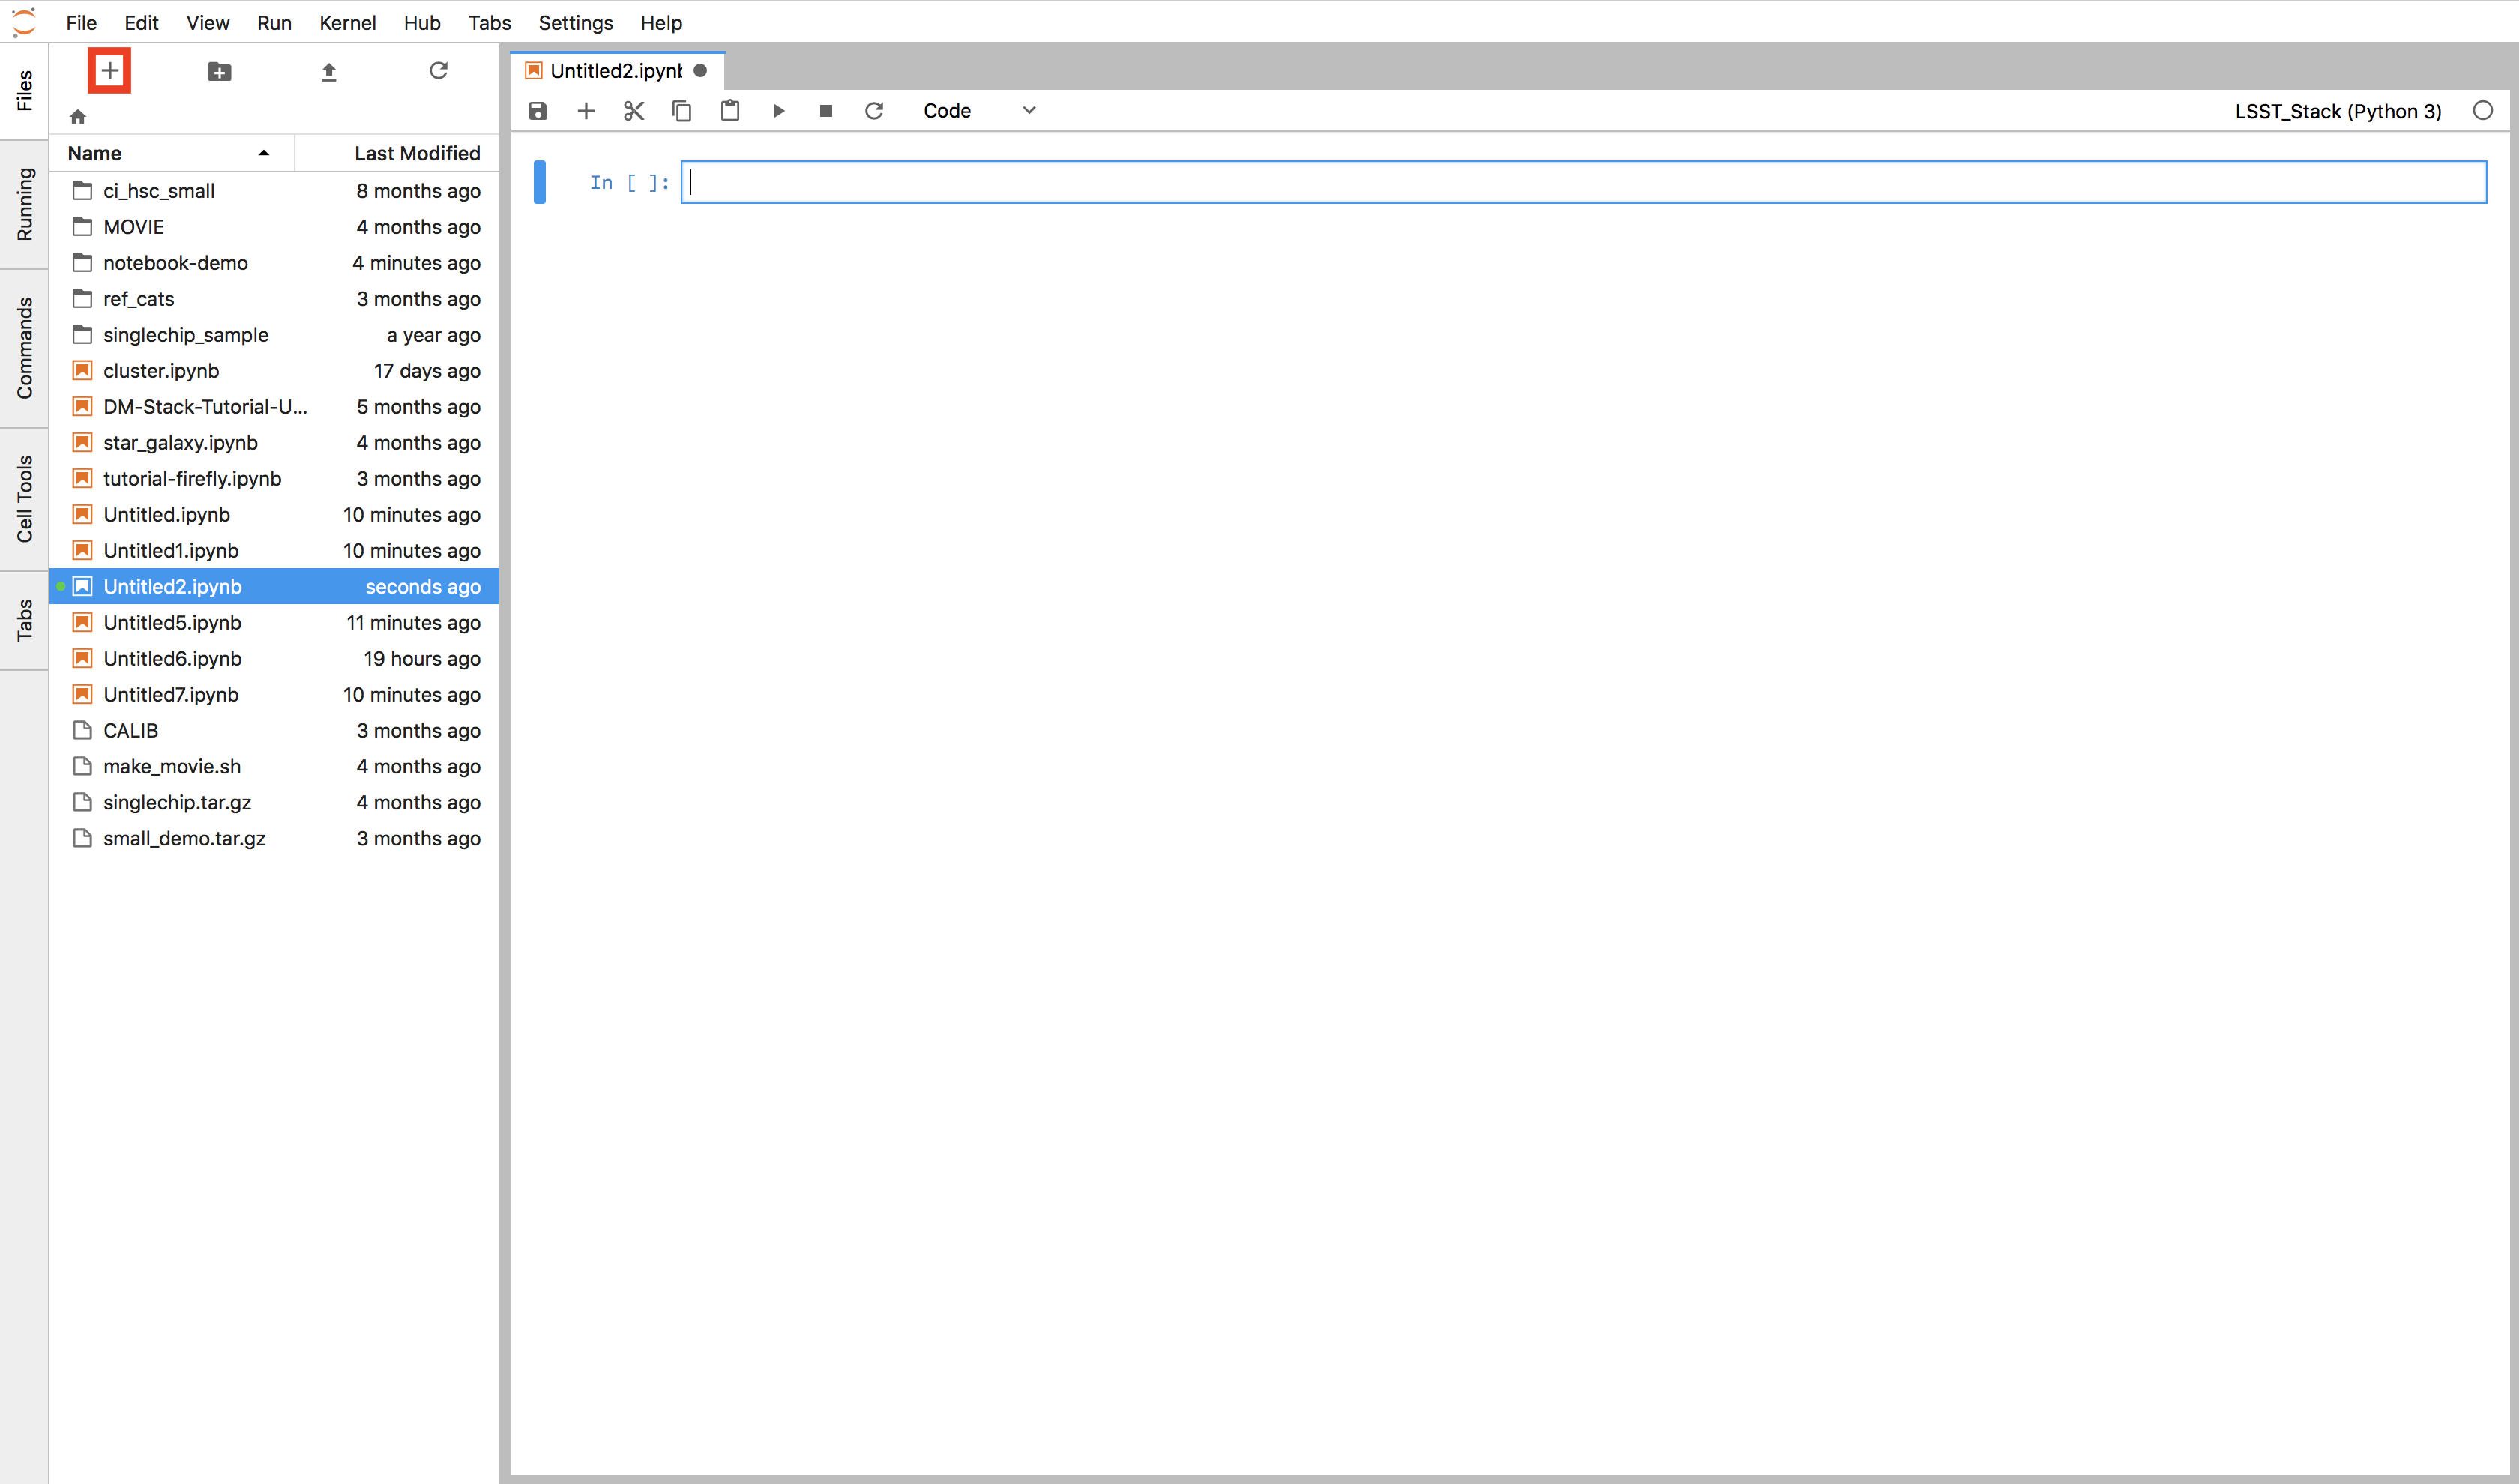
Figure 7 Click the plus to open the launcher
When the launcher opens, open a terminal by clicking the button labeled Terminal in the launcher.
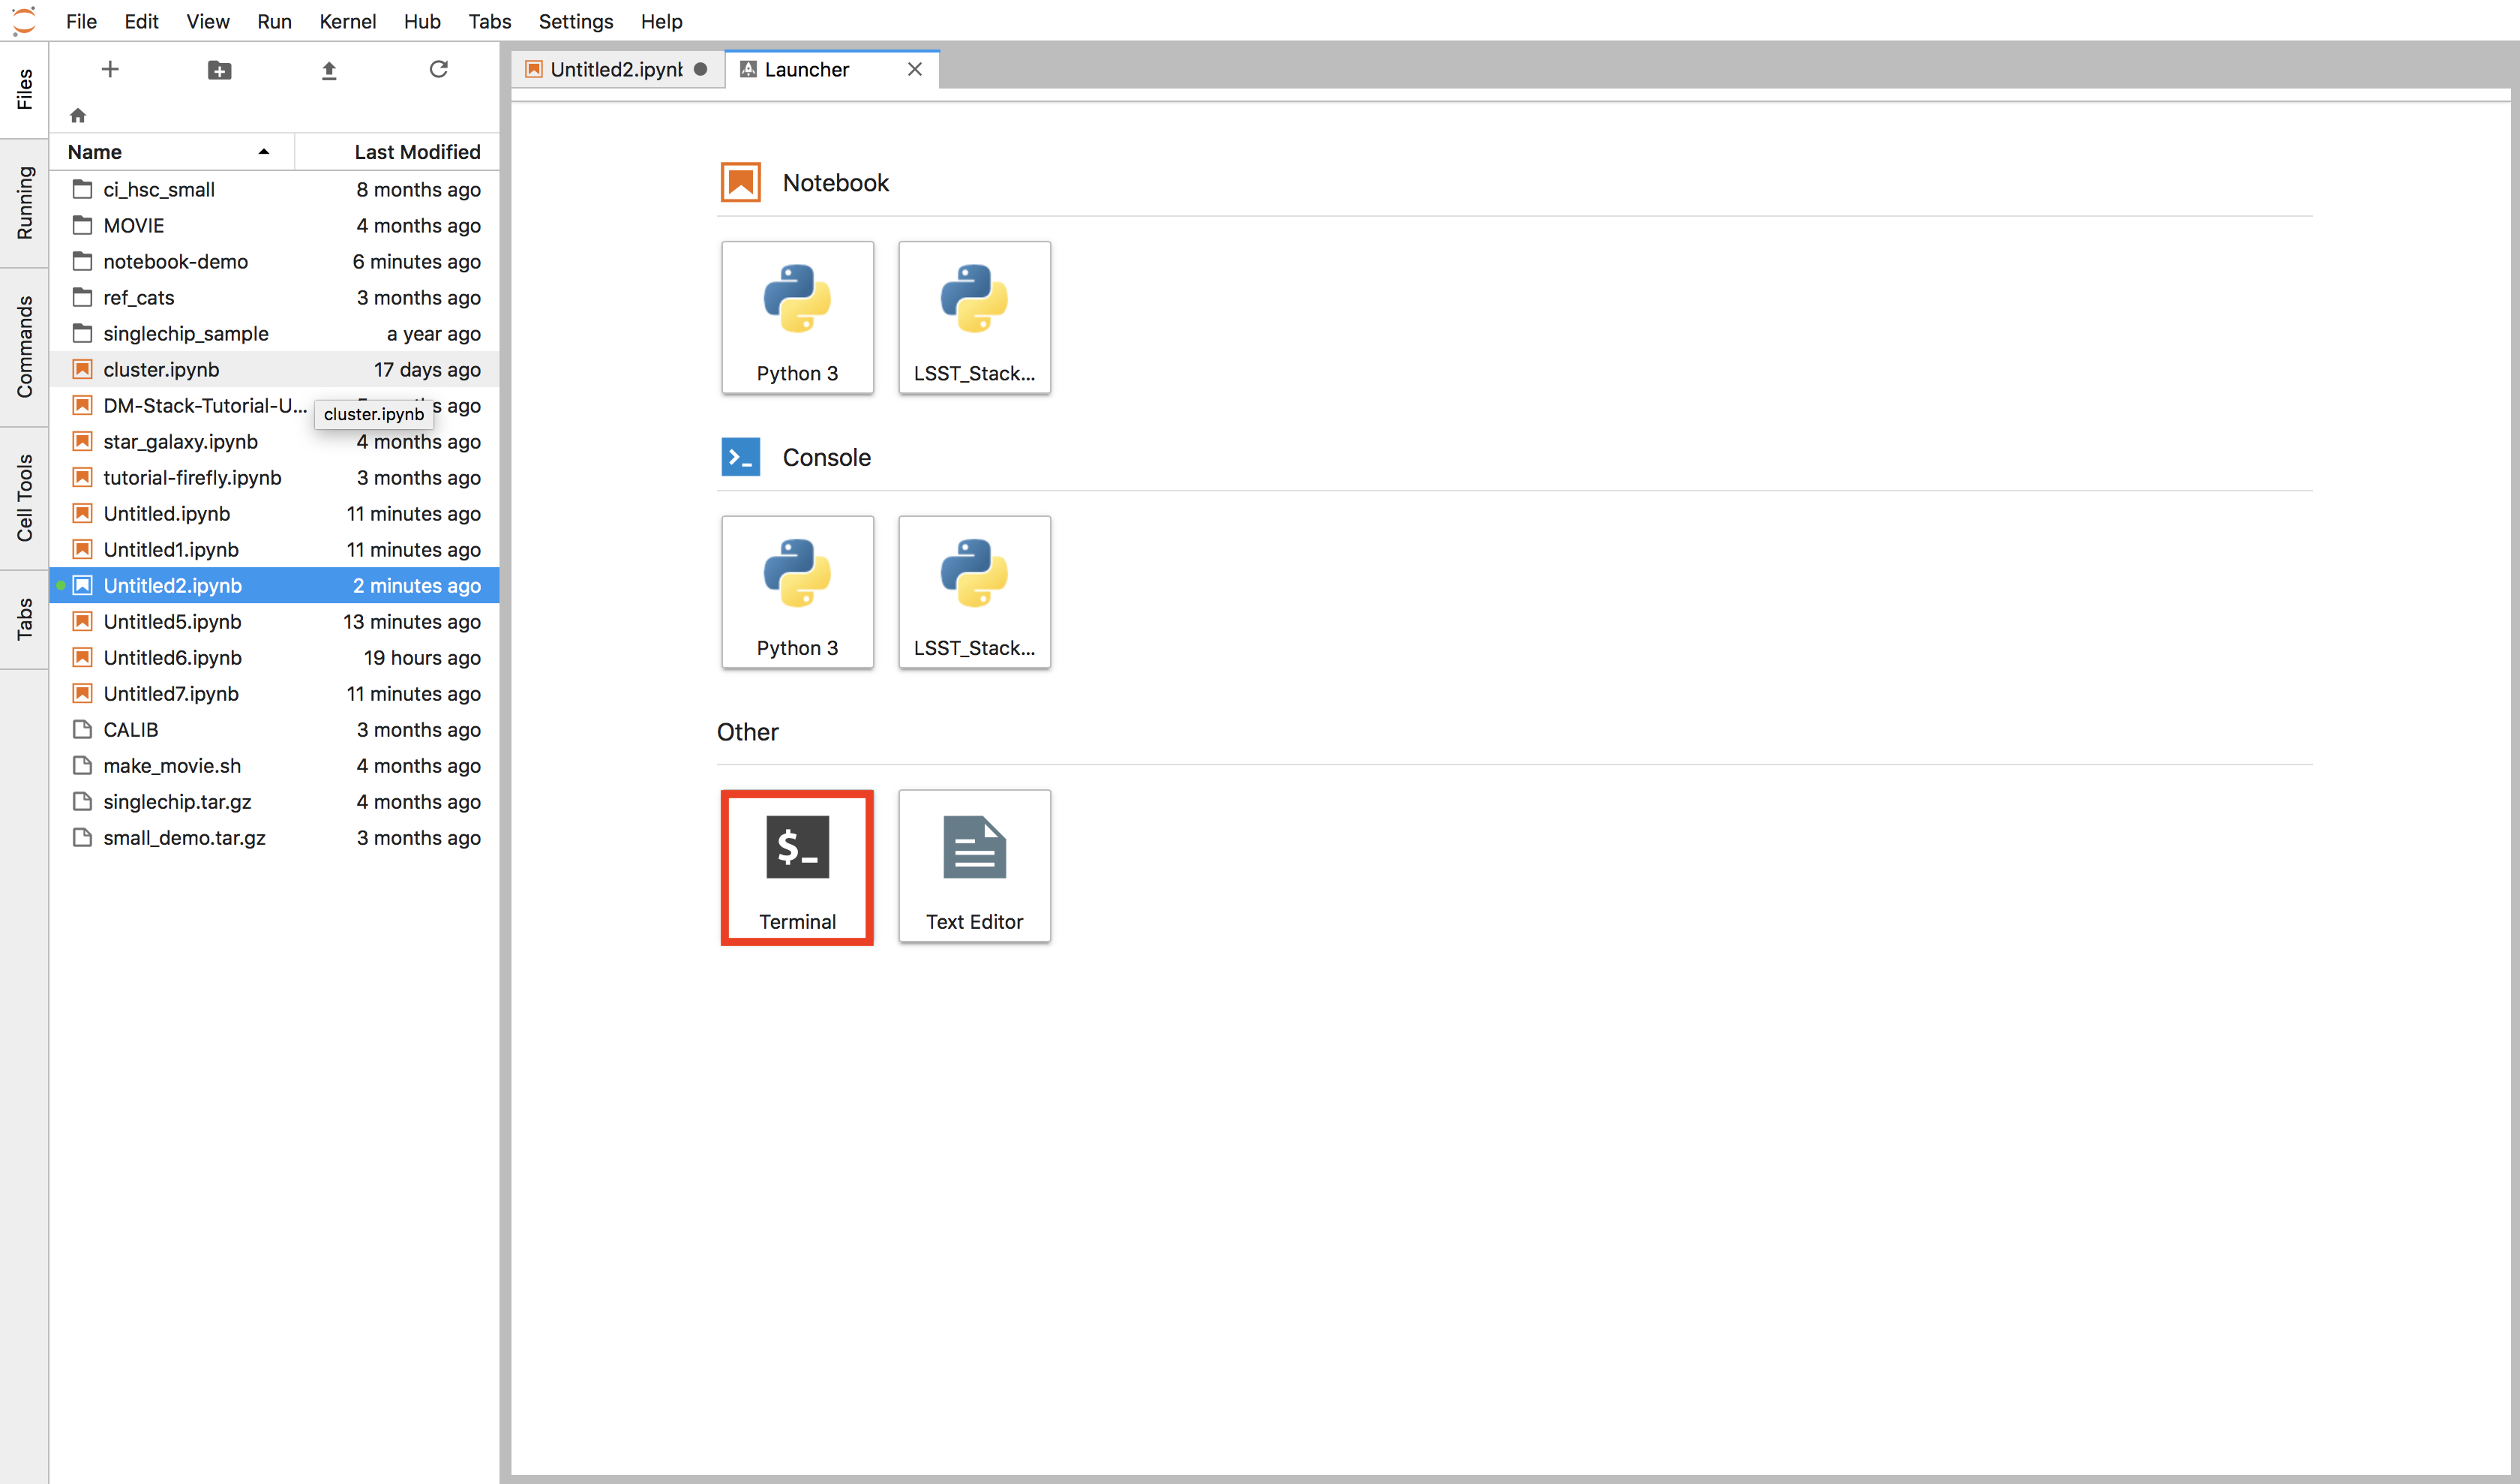
Figure 8 Click the Terminal button
Now, in the terminal, you can proceed exactly as you would on a dedicated machine. First setup the stack. For a reminder of where things live, you can consult the MOTD:
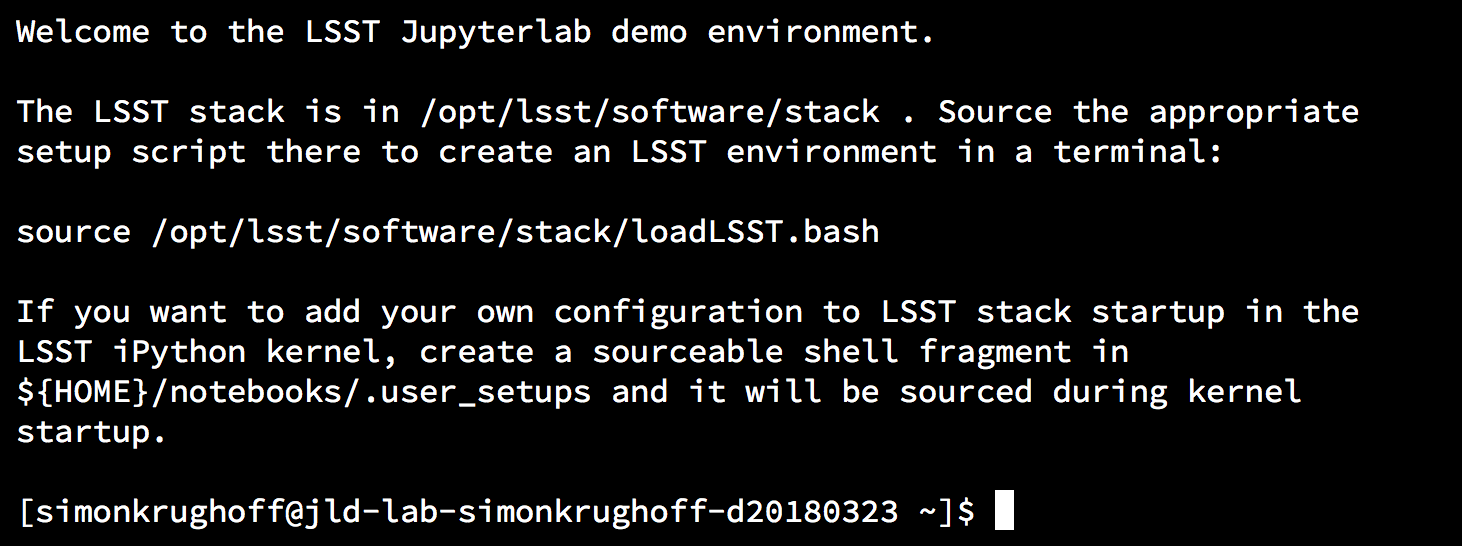
Figure 9 A typical message of the day
Source the setup script for the stack. Create a directory to hold your repositories. Clone the repository, make a branch for this work and set up the package.
source /opt/lsst/software/stack/loadLSST.bash
mkdir repos
cd repos
git clone https://github.com/lsst-com/pipe_base
cd pipe_base
git checkout -b u/krughoff/my_very_special_branch
setup -r .
Don’t forget to build your package. Even for pure python packages, it still must be built to generate the version.py file, at least.
scons
You can now start developing on the command line, if you wish, but let’s move over to the notebook now.
4 Access development code in the notebook environment
In order to easily switch between the notebook and the command line, try setting up your JupyterLab like this:
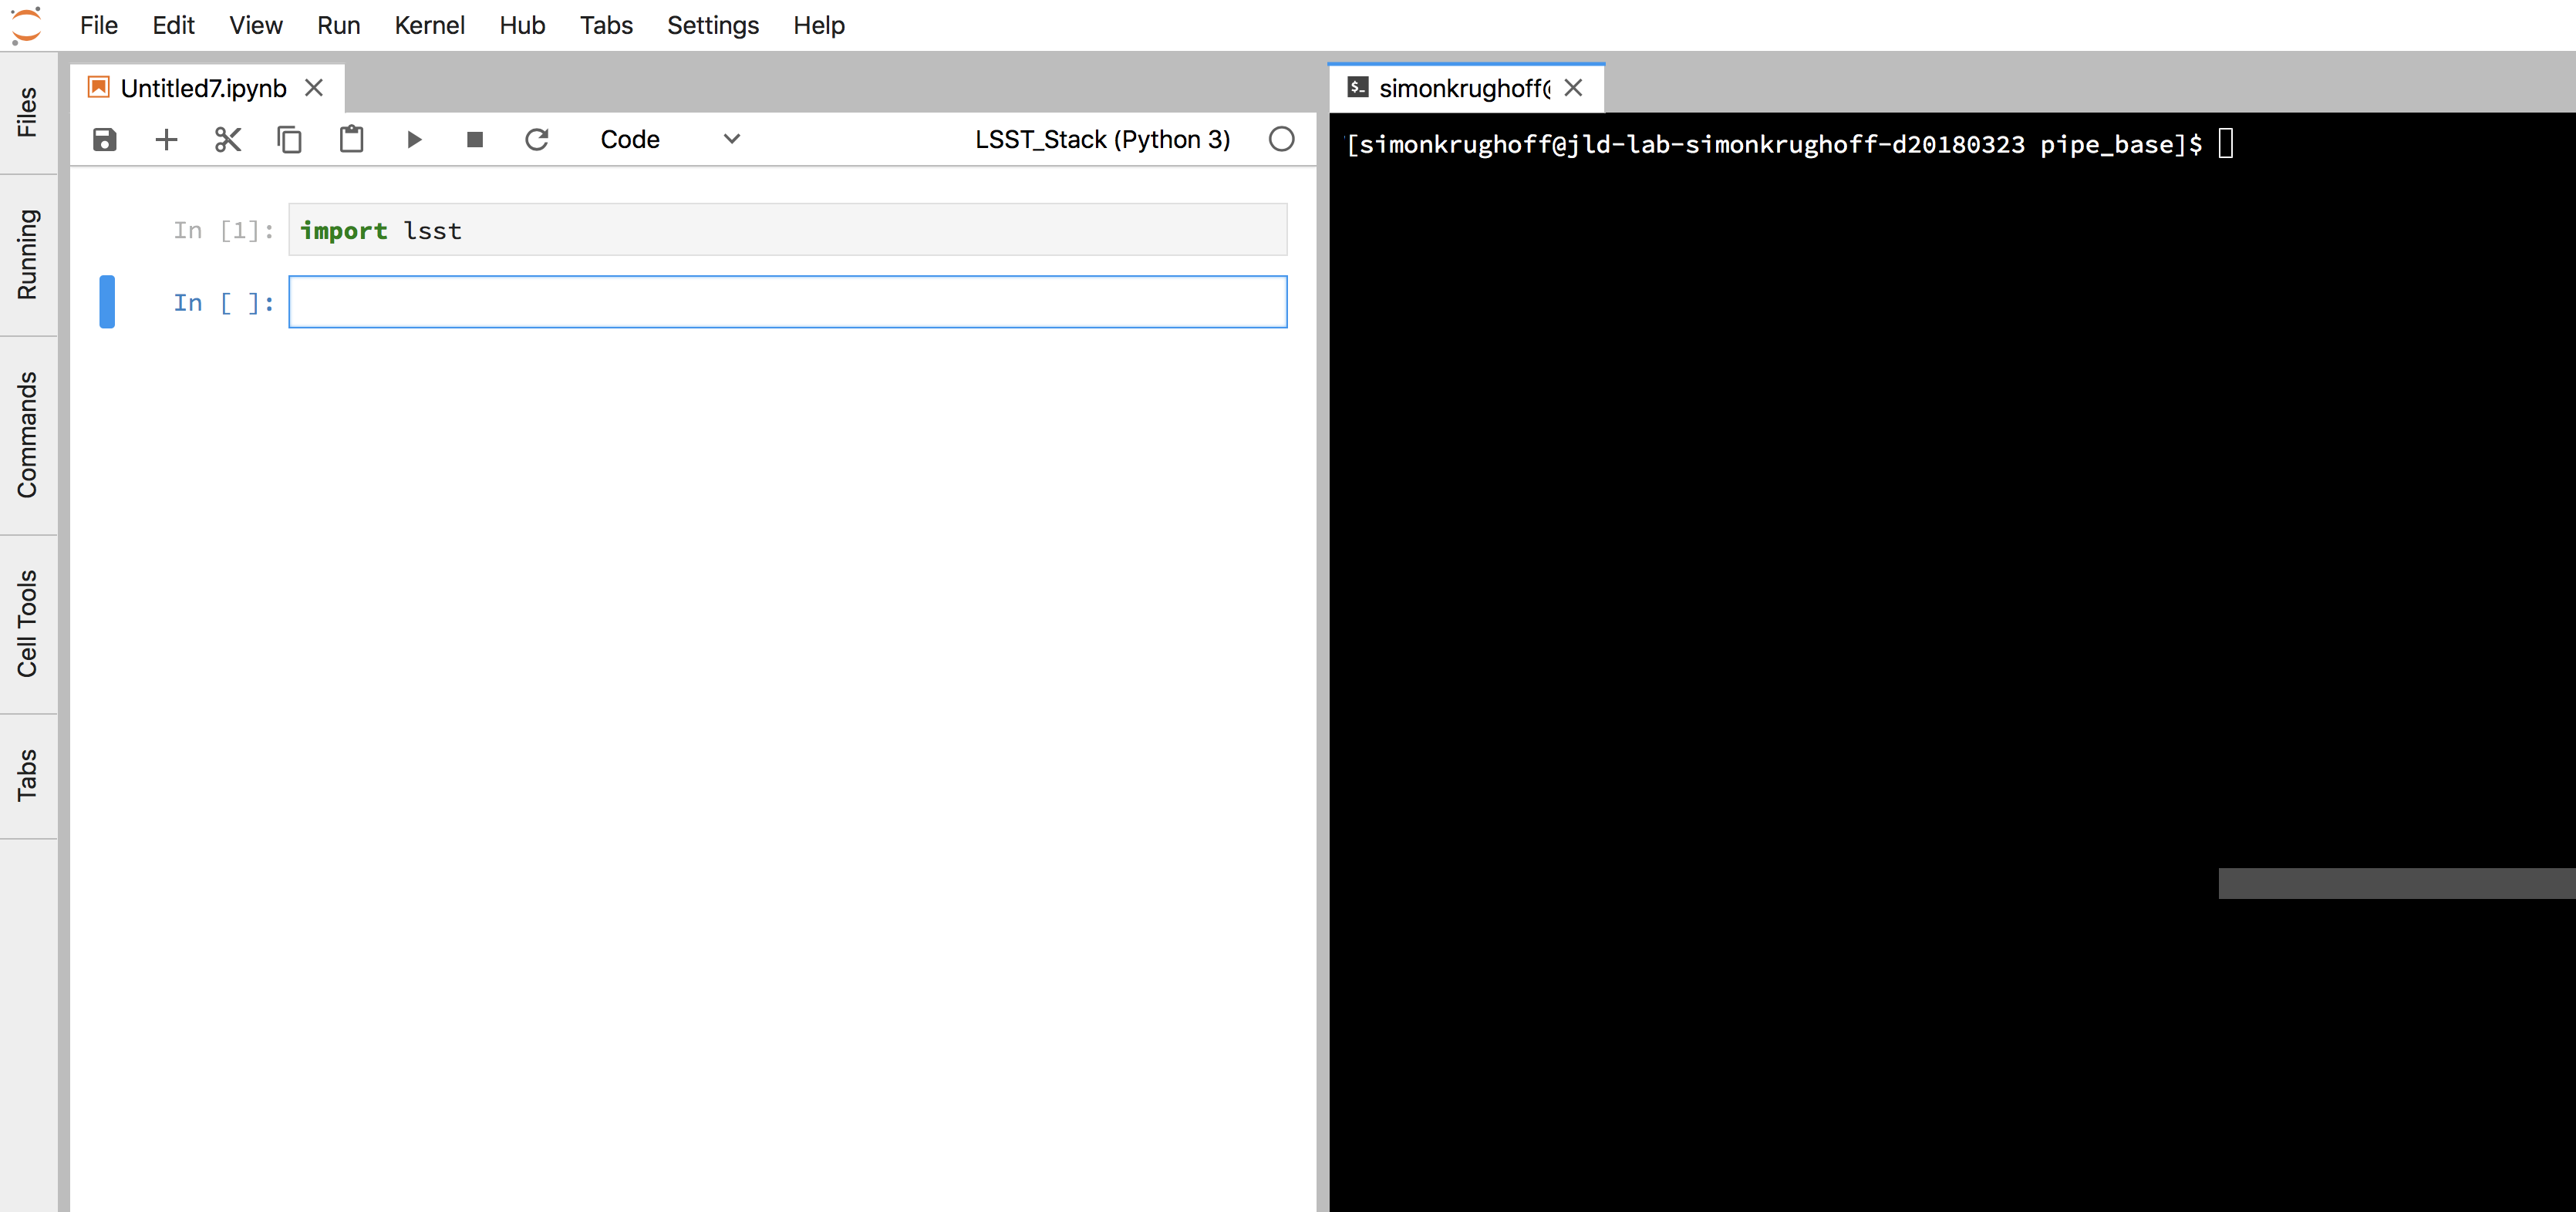
Figure 10 Terminal next to a notebook.
First add the necessary setups in the .user_setups file. This special file is sourced after the stack is setup and just before the notebook kernel is launched. You can put any valid shell commands in this file: e.g. set environment variables. We will use it to swap out our version of pipe_base for the version that comes in the installed stack.
echo 'setup -r $HOME/repos/pipe_base' >> ~/notebooks/.user_setups
Once you have done this, you will need to restart your kernel to pick up this package. Make sure the notebook pane has focus and use the Kernel menu to restart the kernel for that notebook.
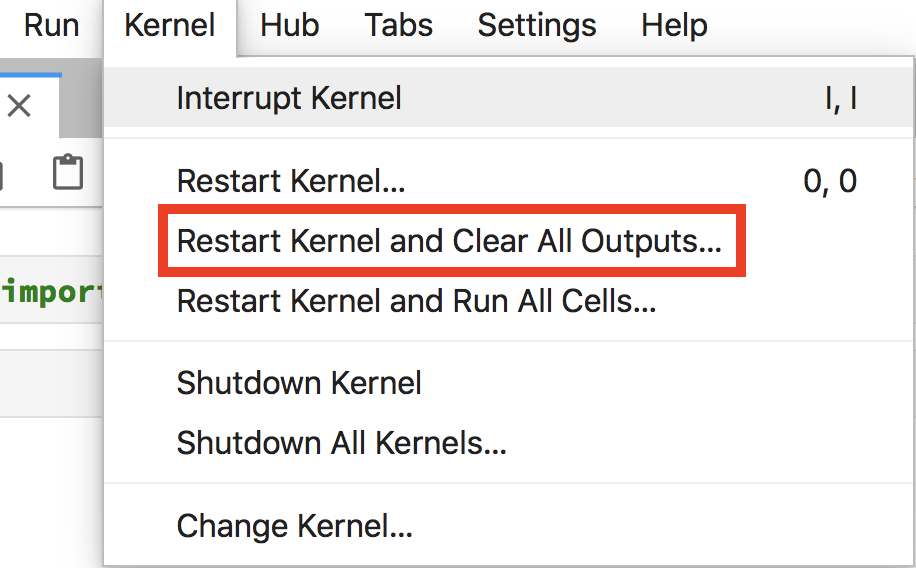
Figure 11 Select the option to restart the kernel and clear all the outputs
To check that you have the correct version of pipe_base, you can inspect the __file__ attribute of the module.
import lsst.pipe.base as pipe_base
print(pipe_base.__file__)
This should point to a file in the repository you cloned earlier.
Now do some development. For example, add a new task called MyTask. First, in the terminal, add the code needed to implement MyTask to the repository.
cat << EOF >> python/lsst/pipe/base/myTask.py
from .task import Task
from lsst.pex.config import Config
class MyTask(Task):
    _DefaultName = 'MyTask'
    ConfigClass = Config
    def run(self):
        print("This method runs stuff...")
EOF
Add the new file to the modules __init__.py.
echo 'from .myTask import *' >> python/lsst/pipe/base/__init__.py
We still can’t import the above class since modules are loaded once for each execution of the kernel. One option is to restart the kernel as we did above, but that will lose the state of all the other cells. Instead we will use the reload method from the importlib module.
from importlib import reload
reload(pipe_base)
mtask = pipe_base.MyTask()
Now try out your brand new class
mtask.run()
Congratulations! You have now updated a package.
5 Commit changes
This should be trivial. Assuming you have privileges to push your changes to the repository you cloned it shoud be as simple as entering the following in your terminal (make sure you are in the repository):
- Add your changes: git add python/lsst/pipe/base/myTask.py
- Commit your changes: git commit -m ‘Add very important functionality’
- Set up your branch to track: git push -u origin u/krughoff/my_very_special_branch
All done.